deeIY pop-up cards
materials needed:
1. Paper Cutter - $10-20. I like mine because it will also has an additional thingy that will score the cards.
2. Stencil letters - You can also print the letters and use them instead of stencils(Helvetica bold stencils) - $4 (free if printed)
3. X-acto knife - $4-5 You can always use scissors if you would like. I just think the x-acto makes it easier.
Board to use the x-acto - $7-10 You can use a cardboard box.
4. Cardstock paper - you can use whatever you want. Mine was $4/pk of 50.
NOT Pictured: pencil & glue
Optional decorative items:
1. Washi tape/craft tape - prices vary.
2. Some type of bakers twine/string - $0.50/roll
3. Corner rounder - Martha Stewart
Step 1: Cut/fold paper
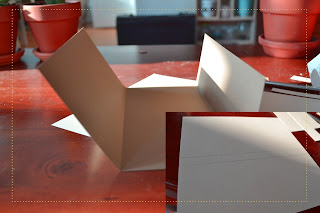
The paper going on the outside of the card -- in my case the brown craft paper. I scored the paper at 4 inches and then at 8 inches. Then fold. You should have a flap that is shorter than the others.
The white paper "inner" I cut to be 7.5in x 7.5in. Then using a pencil drew a line down the middle at: 3.75in.
Then drew a second line 1/2in under the middle line.
Step 2: Stencil/Lettering
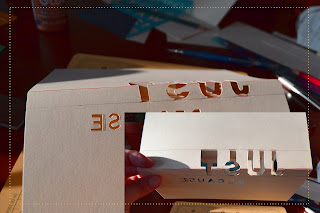
You will be working on the BACK of the "inner" paper. Everything you write WILL have to be backwards. So, flip over the stencil when you are tracing. And make sure you are going from right to left.
Letters should be positioned on the line that is 1/2in under the middle line. The line going through the "JUST" is the middle line.
If you decided to print the letters on computer paper. You will need to cut the letters out using scissors and glue them to the back of the card. Again backwards going right to left.
Here I decided to do the word "because" underneath the pop-up words.
Step 3: Cutting
You will need to draw an extra line that extends the letters 1/2in above the letter on top of each letter. As seen above.
You do this by drawing in a line at the top of all the letters and a line 1/2in above the letters. Then extend any part of the letter that touches the 1st line to the line 1/2in above. I hope this makes sense. I tried to show you in the picture above.
Cut around the letters -- everywhere except the paces with the red lines above.
You will need to score your card where you see the red lines -- to help fold the letters after you use the e-xacto to cut.
Step 4: Folding
Just follow where you have scored the red lines. The letters may be a little difficult to pop out but the scores will make it a lot easier.
Step 5: Glue
Glue down the "inner" pop-up portion to your outer paper.
Done with the pop-up portion!
Decorative additions:
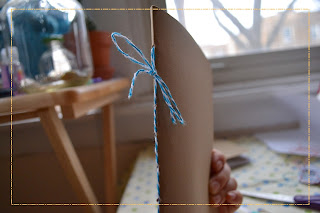
I used some string and washi take to make a cute little banner to go across the card.
EL FIN!
Happy card-making everyone!


.jpg)


