Showing posts with label easy. Show all posts

Sunday, April 21, 2013

simple series 06

deeIY pop-up cards


materials needed: 


1. Paper Cutter - $10-20. I like mine because it will also has an additional thingy that will score the cards. 
2. Stencil letters - You can also print the letters and use them instead of stencils(Helvetica bold stencils) - $4 (free if printed)
3. X-acto knife - $4-5 You can always use scissors if you would like. I just think the x-acto makes it easier. 

Board to use the x-acto - $7-10 You can use a cardboard box. 

4. Cardstock paper - you can use whatever you want. Mine was $4/pk of 50. 

NOT Pictured: pencil & glue 

Optional decorative items: 

1. Washi tape/craft tape - prices vary. 
2. Some type of bakers twine/string - $0.50/roll 
3. Corner rounder - Martha Stewart 

Step 1: Cut/fold paper 


The paper going on the outside of the card -- in my case the brown craft paper. I scored the paper at 4 inches and then at 8 inches. Then fold. You should have a flap that is shorter than the others. 

The white paper "inner" I cut to be 7.5in x 7.5in. Then using a pencil drew a line down the middle at: 3.75in. 

Then drew a second line 1/2in under the middle line. 

Step 2: Stencil/Lettering 


You will be working on the BACK of the "inner" paper. Everything you write WILL have to be backwards. So, flip over the stencil when you are tracing. And make sure you are going from right to left. 

Letters should be positioned on the line that is 1/2in under the middle line. The line going through the "JUST" is the middle line. 

If you decided to print the letters on computer paper. You will need to cut the letters out using scissors and glue them to the back of the card. Again backwards going right to left.  

Here I decided to do the word "because" underneath the pop-up words. 

Step 3: Cutting 


You will need to draw an extra line that extends the letters 1/2in above the letter on top of each letter. As seen above.

You do this by drawing in a line at the top of all the letters and a line 1/2in above the letters. Then extend any part of the letter that touches the 1st line to the line 1/2in above. I hope this makes sense. I tried to show you in the picture above.

Cut around the letters -- everywhere except the paces with the red lines above. 

You will need to score your card where you see the red lines -- to help fold the letters after you use the e-xacto to cut.

Step 4: Folding


Just follow where you have scored the red lines. The letters may be a little difficult to pop out but the scores will make it a lot easier. 

Step 5: Glue 


Glue down the "inner" pop-up portion to your outer paper. 

Done with the pop-up portion! 


Decorative additions: 

I used some string and washi take to make a cute little banner to go across the card. 

EL FIN! 


Happy card-making everyone! 

Saturday, March 30, 2013

thrifting 01

thrifting 01: Home Decor on a dime 

I am a thrift shopper. Yes, you can call me whatever you want. But I just love buying things at a reasonable price. I also love the idea of giving something a new life in my home. 

Here are some things I look for at thrift stores for storage/decor at home. 

Let me know if you want to see more of these types of posts. 

Home storage/display cases: 


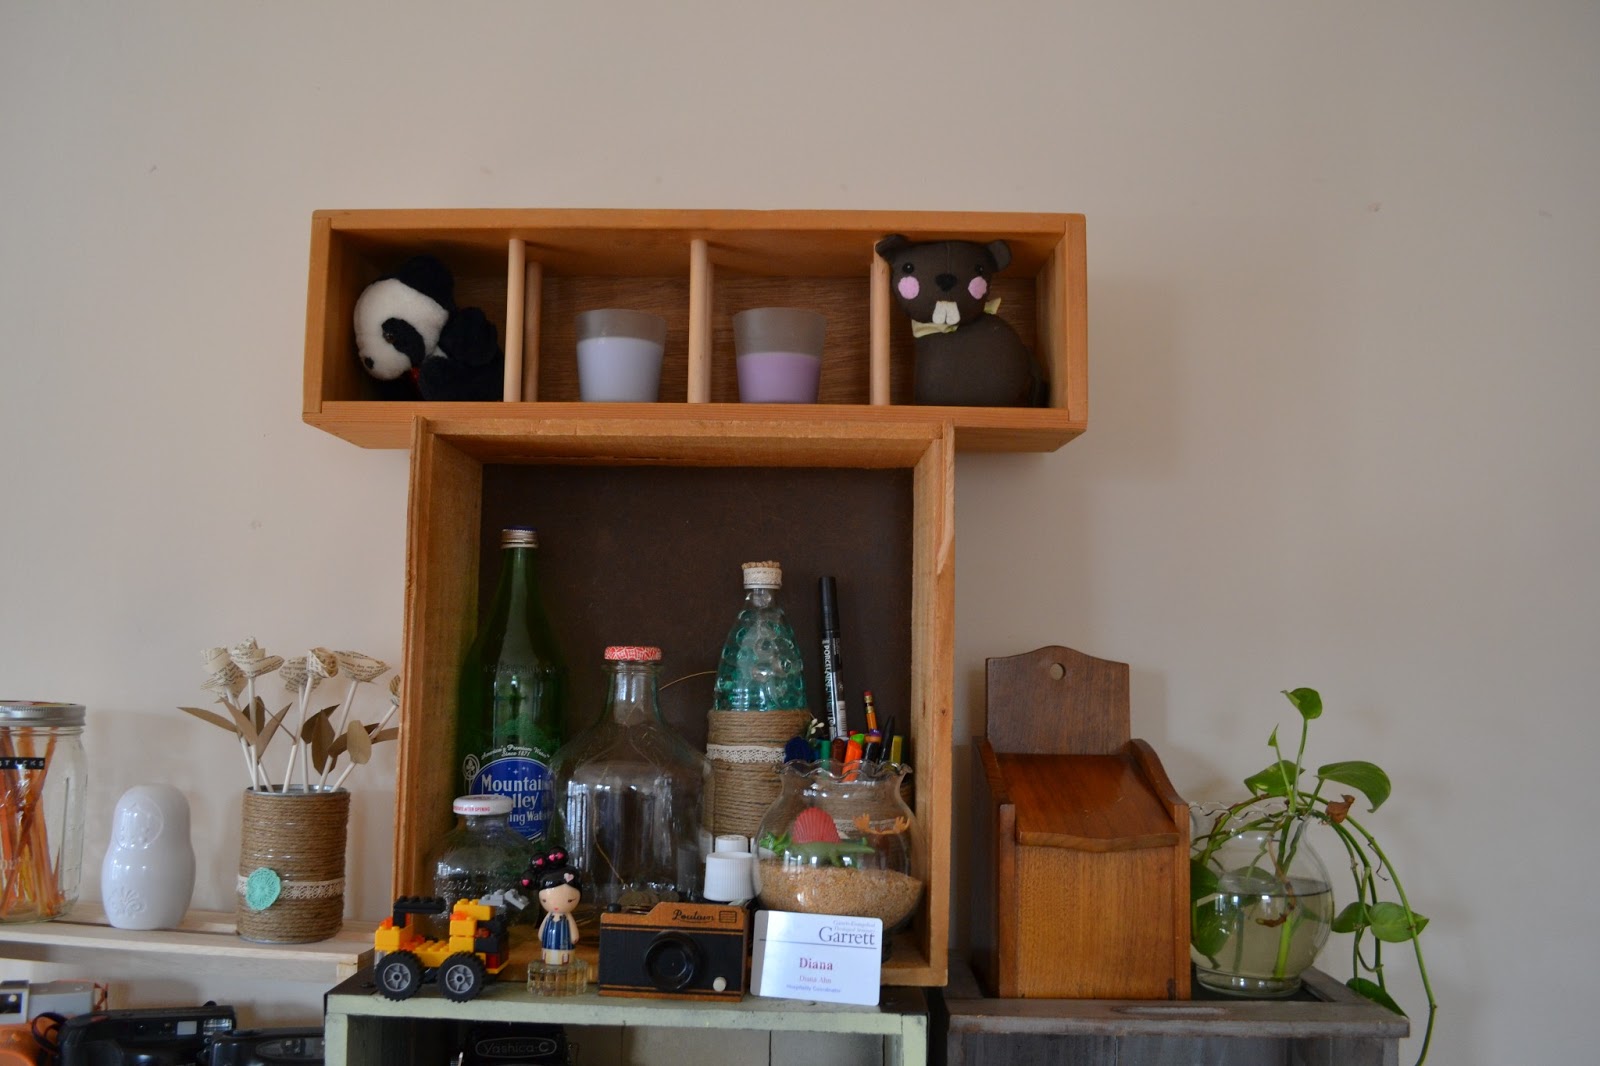
Not all this is thrifted. But this display area in my apartment only cost me about $70 and come change. 

The display case of the left is something that I built from small crates I found at Michael's and wood boxes from Target. I put them together with some wood glue and voila- I have a cute display case for my cameras. Total cost around $30. 

The two green/sea-foam colored ones from TJ Maxx at about $15/crate. 

The crate on the left was on sale from TJ maxx -- slightly damaged $8. 

And the two crates up top were only $2 each at Salvation Army. 

Here is a closer look at the thrifted things: 


$4 total. The little chair box next to the plant was only $1. 

I suggest searching high and low for these crates. You can get them for decent prices. If you want to pay too much, I know whole foods sells theirs for $20/crate. 

I heard you can get them for free from Costco sometimes. 

Total cost: $70.00 and change

Jewelry Storage: 


This is an old magazine holder that I decided to use it as a jewelry holder. 

Total cost: $3.99 

Thrifted frames: 


10 frames with character: 

Total cost: $5.00  

Home decor: 


I decided to use this old wooden doll chair as a book end. 

Total cost: $3.99  


I've had this teddy bear for over 20 years now. He's been needing a new place to be. So, I found this cute miniature student desk at the Salvation Army. He looks perfect there with the backpack I made him a few years back. 

It's a weird find and extremely heavy. Too cute for words. 

Total cost: $8.99 

Saturday, March 16, 2013

simple series 04


deeIY Air Freshener  


Materials: 


1. Essential Oils - I used Lemon Eucalyptus. Smells like a spa. Amazing. ($3.99) Some other oils like Lavender, Vanilla, etc will work. They tend to be a little bit more expensive. 

2. Crystal Mud or Bubble soil - Found mine at the local Jewel-Osco (AKA Alberston's) ** In the floral section- ($1.00)  

Directions: 

1. Put about 10-15 drops of your essential oil into a large bowl. Fill it with about 3 cups of water. Then add your "crystal soil". I only added about 1/2 of the packet into the water. Remember your beads will expand to about the size of a marble. Add enough to fill your container. 

This is what they look like when FULLY expanded. 


Add them to your container and ta-da you have your own homemade air freshener. Makes for a great gift. Use for your car. 

I decided to use twine to cover a mineral water bottle -- and filled it with the aromatic bubbles. 


If the smell runs out -- add more essential oil and water into the container and voila! You have an never-ending air freshener! 


For the mom's out there!! 

** For tactile fun with your kids. Just grab a couple of these water bubbles and have them play. They are completely non-toxic. And really great for counting and games! 


El Fin! 

simple series 03

Design your own mugs 


Hello everyone! I've been obsessing over making my own mugs all week. So, I researched different mugs etc. And these are the mugs I've come up with. Enjoy! 

1. Materials


1. Mug/cup of your choosing ($1-4) 

2. Pebeo Porcelain 150 Markers ($3.5-5)
Make sure you are looking at the markers -- some are air dry and some are oven bake. I made the mistake of buying a mixture. Local craft stores should have something if not try Dick Blick. 

Instructions: 

1. Clean the mug/Dry the mug 

2. Draw your desired design. Look online for samples. I'll add some of my samples at the end. 

You can even draw your own MUG on your MUG. Get it, get it. Language is fun. 

Here I had to draw all the black at once because my black was oven-bake and the colors were all air dry. I added color later. 

3. Bake according to instructions -- the Pebeo pens require 350 degrees for 30 minutes. 

After I baked I added the colors. The color pens require a 3 day dry time for them to be dishwasher safe! 

Enjoy! 

Here are some sample cups/mugs I made. 

Sample 1: The underwater whale. I love this idea. It's going to be fun to see the whale underwater when I fill the cup. 

It would also be cute to add a fishing boat up top. So that the boat would be floating on water when you fill it up. 


Sample 2: My friend is in love with grumpy cat so I made her a mug. And the other two are a girl guy mug I saw online. I thought it would be cute to give a try. 


Happy mug making! 


Monday, March 4, 2013

simple series 02

Simple Series 02: Make your own journal/field book 


Materials: 


** These might be things you already have at home. Which is kinda nice. 

1. Cardstock/Craft paper - I bought the polka dotted one for about $0.50/sheet. I bought the craft paper (brown) $3/pack - each pack has about 50(?).  

2. Something pointy to poke holes in paper. I happen to have that pointy tool -- you can also use a thumb tack. 

3. Twine/Baker's twine/Embroidery Floss. You will need at least 20 inches - $0.50-$3. 

4. Computer Paper - I also like using graph paper! - I use about 10/notebook.

5. Big-Eyed Needle - It just needs to be big enough for the twine to go through. Like a tapestry needle. I don't know about price. Probably no more than $1-3. 

6. OPTIONAL: Corner rounder -- I have the Martha Stewart one. It's kinda pricey - about $10.

Step 0(Optional): Round out the corners of all papers


Step 1: Fold


Fold everything in half - cardstock and computer paper. Cardstock on the outside. Make sure yours looks like the one above. If it doesn't... I don't know how to help you. 

Step 2: Make Holes


Poke holes along the center fold -- I like to poke from the inside. It's just easier. I just guess the spacing but you can measure with a ruler if you don't trust yourself. 

Step 3: Sewing


Put twine through the needle. Put the needle through the first hole -- I start from the outside (cardstock side) -- Leave about 3in of twine on the outside(top left). Then weave through the holes (top right). Then weave back down to where you started (bottom left). Once you have the whole thing weaved through, go through the second hole one more time (bottom right). It should look like the picture below: 


Step 4: Tie it. 


I double knot the first knot. Then tie a cute bow. I double knot the bow too. Then cut the excess twine. 

Step 5: (Optional) Add stuff


On my notebooks, I always add an envelope on the back page to hold secret stuff -- or just stickers. 

Because I love to journal, I go through one of these a month(easily) -- So what I do is, make a month indicator - a "3" for March and a cute little lace thing. 

Then the 2nd and 3rd page is my March calendar. I just used some more craft paper to make the calender -- everything on the page is just handwritten. 

Personalize it anyway you want to. 

** GREAT gift idea for friends who love to stay organized. You can make them one for each month of the year. 

EL Fin:

Mr. Peter the Pig says, "Stay cool."